For how long have you dreamed of having a designated area where you can freely dedicate your time to your beloved hobby or small business? Go ahead, admit it. We know that your significant other has been at their wits’ end for quite some time now because of your clutter all over the garage, or worse, the living room. Now, if you are reading this article, that means you are one of the lucky folks who have a garden and, in it, a shed that’s just sitting there aimlessly. Well, what have you been waiting for? You’ve got the right idea, a garden shed is a perfect place for your workshop. You just need to take a look at a few smart and easy ways to turn your shed into a workshop, and you’re good to go.
With a solid base, power, heating, and damp-proofing, you will make yourself a warm, safe, and dry space suitable for all sorts of hobbies or even professions. These tips can apply to metalworkers, carpenters, mechanics, woodworkers, artists, you name it. In addition to being functional, why not make it appealing, too? Sure, it will take you some time and effort, but it will undoubtedly pay off in the end.
Step 1: Plan & Declutter
As it usually goes with any remodeling, you must make a plan before you even begin work. Firstly, decide what you will use the workshop for. It will determine what you need to have in it, how much space you will need for it, and how you will organize the area. Then, assess the situation. See how much space you are working with and create a draft of what you will put inside. How much work surface you will need? How much storage is necessary? All of that you need to decide before you start building work spaces.
And, of course, declutter mercilessly. Sheds are notorious for collecting all sorts of rubbish nobody uses. Well, it’s not the shed that has gathered all that inside; it’s you who put it there, but… you know… Get rid of everything you haven’t used for a long time, is broken, damaged, just plain useless.
Step 2: Electricity & Lighting
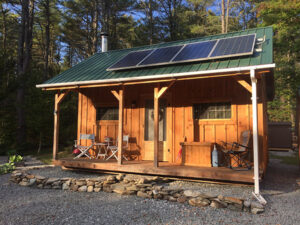
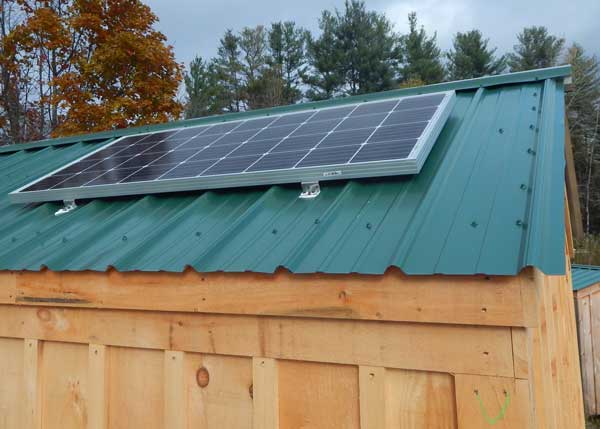
This stage is probably the most complicated one, but it is necessary. You have to create a reliable power source and install proper lighting. If you are not skilled at this, it’s advisable to seek professional help. Alternatively, you can use a generator or a battery-operated source of electricity such as solar.
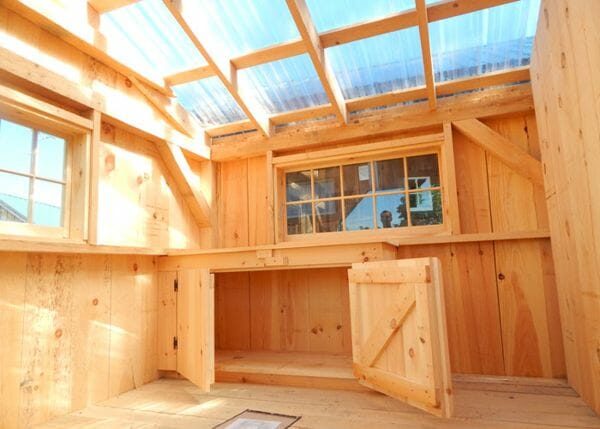
As for the lighting, your options are numerous. Fluorescent overheads are a typical choice for a workshop, but you can also choose among halogen lights, various lamps, and LED lighting.
Step 3: Add Insulation & Heating
This is necessary if you want to spend time in your shed during both scorching and freezing weather conditions. You can cover the walls of your shed with ply, plasterboard, or tongue and groove. This is a relatively inexpensive solution. However, to keep your new workshop toasty during the winter months, you should also install some heaters. Depending on your budget and wishes, you can go for the underfloor heating, wood stoves, portable heaters, propane or electric radiators.
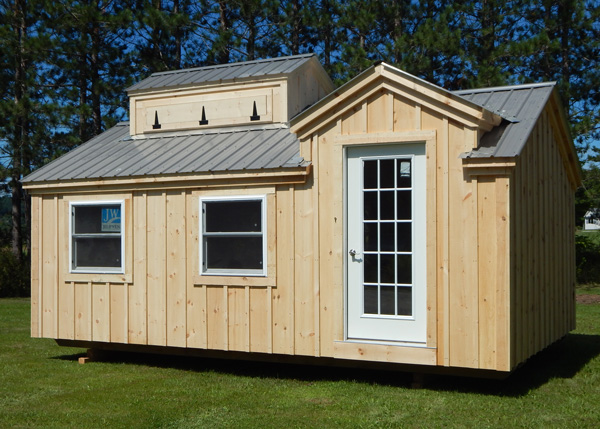
During the construction phase of your shed it is best to install insulation. Though there are ways to insulate a building after it is built, you will save money and time by adding it during construction. Shop our selection of popular four season workshops here.

Step 4: Work Surfaces & Storage
Naturally, the essential piece in a workshop is the work surface. You have determined how big a piece you will need to accommodate all your typical projects during your planning stage. Now, focus on making it sturdy enough to withstand whatever you will be using it for.
Also, account for the space on the work surface necessary for your tools. Of course, you will not keep your tools and other equipment there because they should be protected when not in use, but you will need additional space for them while you’re working.
When it comes to storing your equipment, create solutions at accessible heights so you can easily reach everything. For instance, while drawers are always a good storage option, consider a pegboard, or rack on the wall, where you will hang all your small tools, such as screwdrivers and wrenches. You will easily spot whatever you need and place it immediately back to its place. That way, things will always stay in order, and you will maximize the space.
Also, shelves are a staple in all organizing, and you need them in your workshop as well. Adjustable shelving is an excellent solution because the shelves can be placed higher or lower to accommodate different tools. Free-standing metal shelving is also fantastic for more bulky items. They are durable and have grated bottoms, which means they will not collect dirt. And you can move them around when necessary.
Step 5: Equip With Your Tools
The last point on the list is to make a plan how to safely transport the tools to your new workshop. Wherever you have been keeping them before you have built them a shiny new home, you should know that there are ways to pack and ship them from one location to another safely and easily.

Firstly, remember to empty all the fuel and oils to avoid potential disaster during transport. Then, clean everything. You don’t want dirty tools in the clean new space. Then pack everything into cardboard or plastic boxes, protect them with old clothes or other soft materials. If you have larger pieces, perhaps hiring professional movers to help you would be a smart idea.
Final Thoughts
After you have finished all the practical work, you can add some accessories to make the space more appealing. A plant or some artwork is not a bad idea. Also, don’t forget to have some cleaning supplies always at hand. And finally, leave a spot for relaxation. After all the hard work you will do there, it’s handy to have a corner where you can sit and relax a little. Even if you have built the workshop for your hobby, it will be nice to have a space to rest.
Whatever you plan to do in your new workshop, remember to make it appealing.
With our smart and easy ways to turn your shed into a workshop, you will undoubtedly create a space where you can enjoy yourself even when working. Of course, your workshop should be well-organized and functional.
Author: Sally Norton