How to Maximize Storage Space in Your Shed
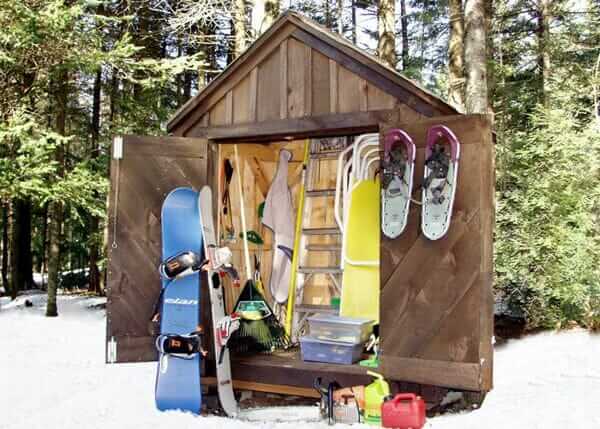
A nicely put-together shed, neat and tidy, can make your life and work in the garden a lot more comfortable.
Your Guide to Designing a Perfect She Shed
She sheds provide a secluded backyard sanctuary that can provide private space for reading, office work, arts and crafts creation, or working out.
Space Saving Gym Equipment for Your Cottage
When you want to work out and you have limited space, you need to find out how you can maximize the space you have. For example, there is plenty of space-saving gym equipment for your cottage. Getting information on this equipment can help you set up a gym in your cottage in no time and have room to spare for other activities.
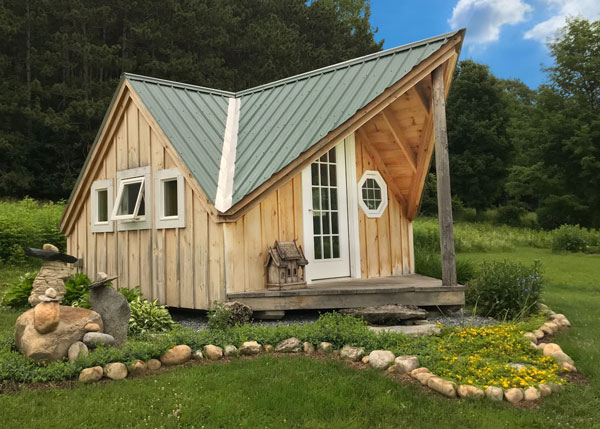
How To Add Extra Living Space to Your Property
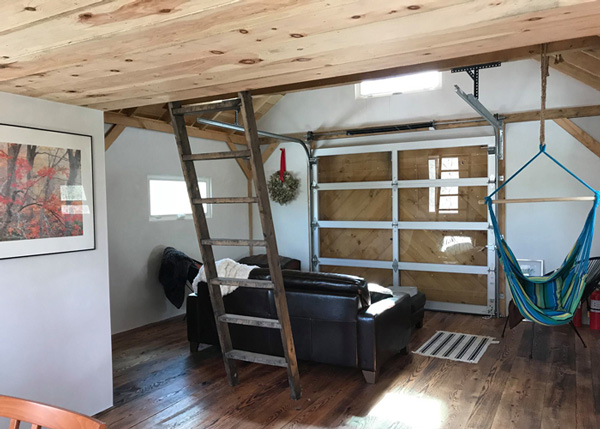
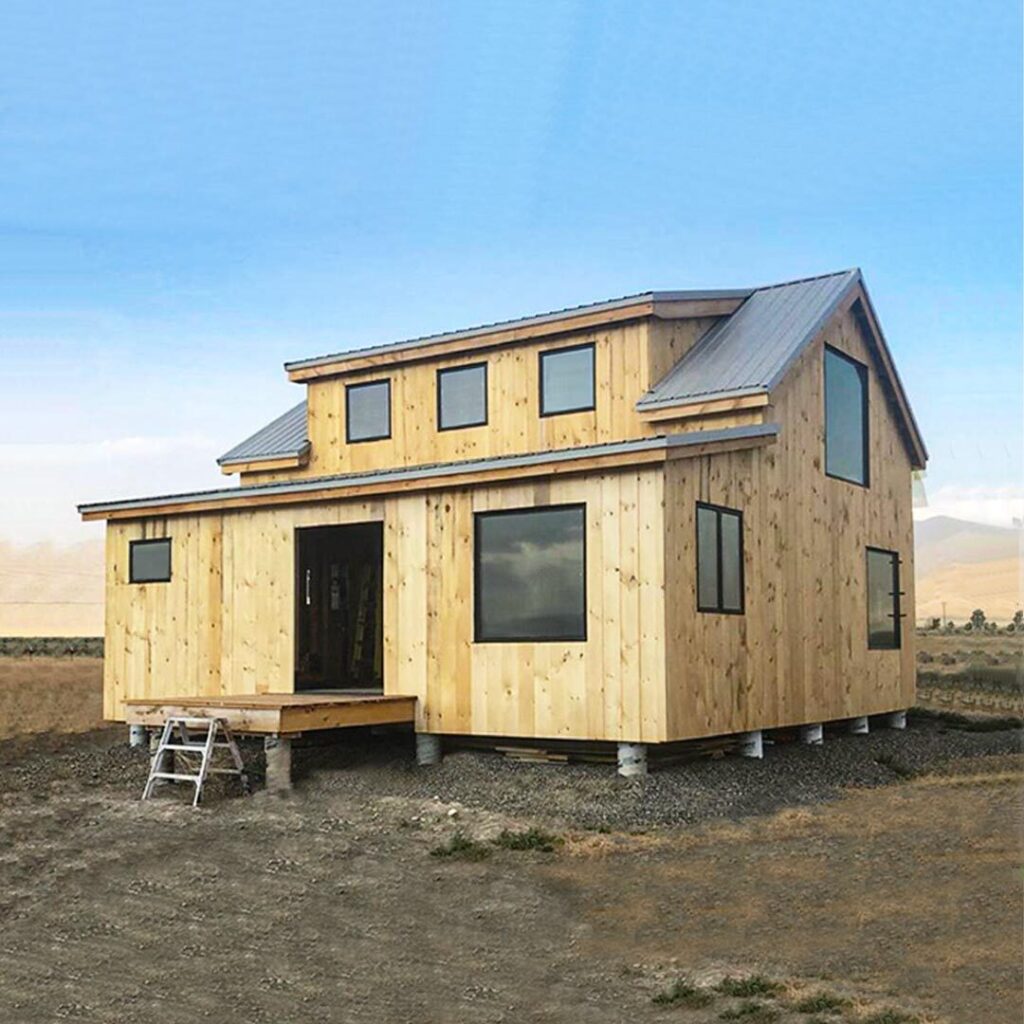
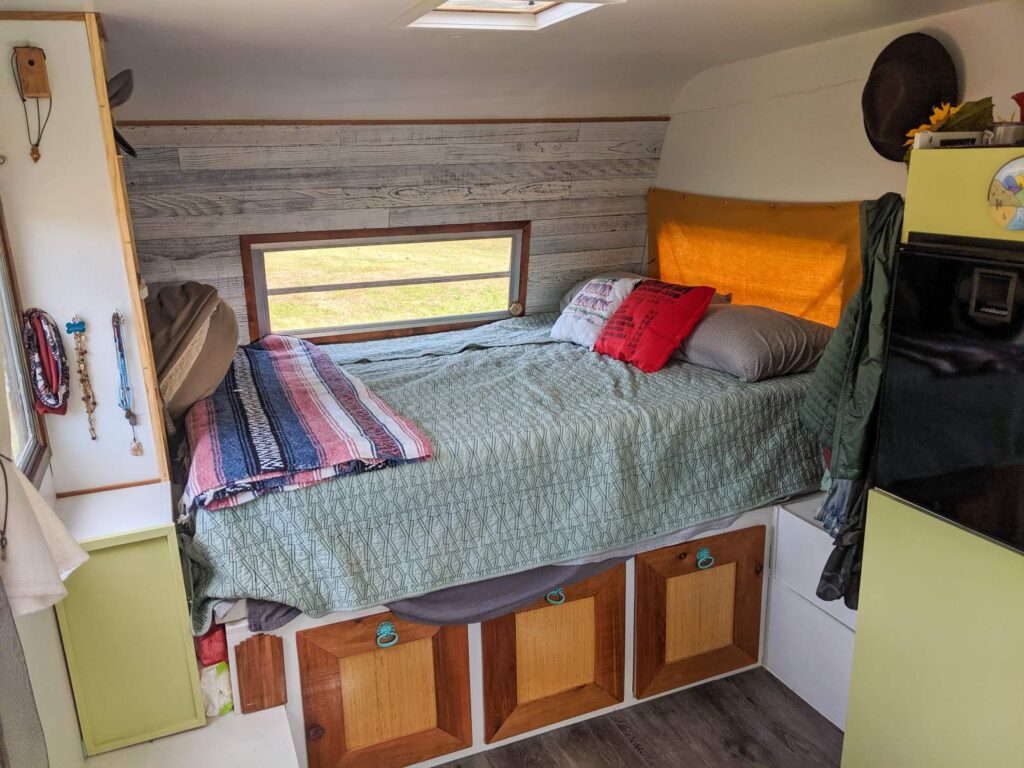
Have you been thinking lately that living in a tiny house on wheels would help solve some of your problems? Well, you could be right. With how the world is rapidly changing, being mobile, with only the things you truly need, will provide the clarity and freedom you might have been longing for.
The Time is THOW
Have you been thinking lately that living in a tiny house on wheels would help solve some of your problems? Well, you could be right. With how the world is rapidly changing, being mobile, with only the things you truly need, will provide the clarity and freedom you might have been longing for.
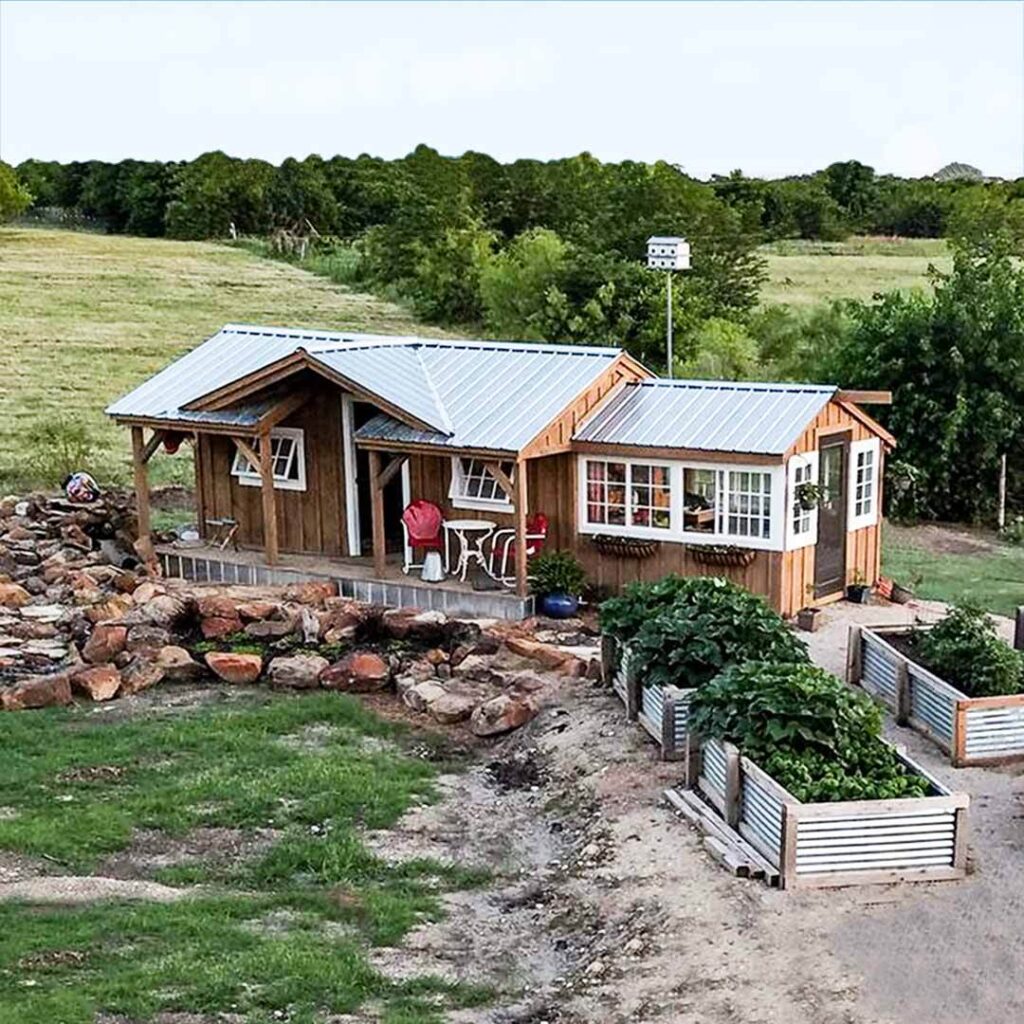
Best Tips for Cabin Building Prep
Building any type of structure on your property takes time and energy. Every effort is worthwhile when you are satisfied with the result. A good plan is always the best starting point. After that, time frames and costs should be considered, which is precisely what we will discuss in further detail in this article. Read […]
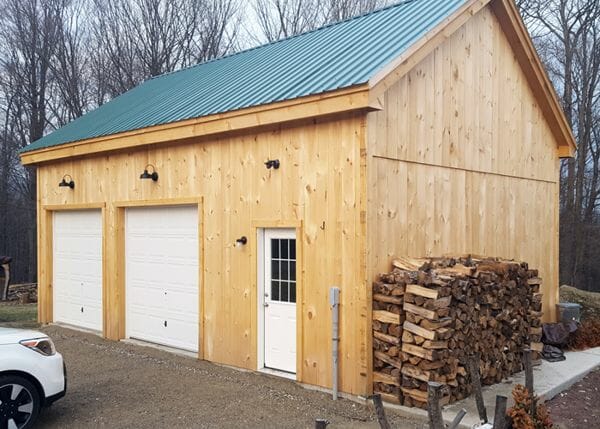
How To: Convert a Storage Shed into a Guesthouse
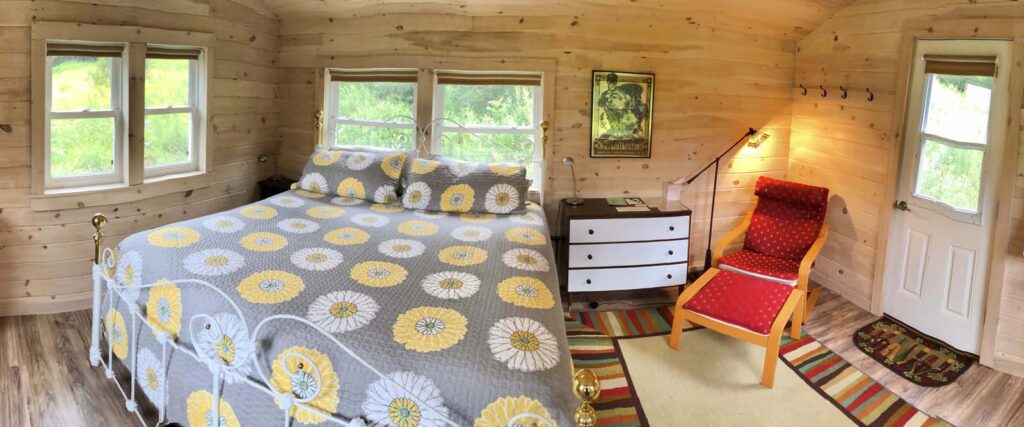
However, some measurements are necessary to make one functional and comfortable. If this sounds like you, you can use the following tips to learn how to convert a storage shed into a guesthouse.
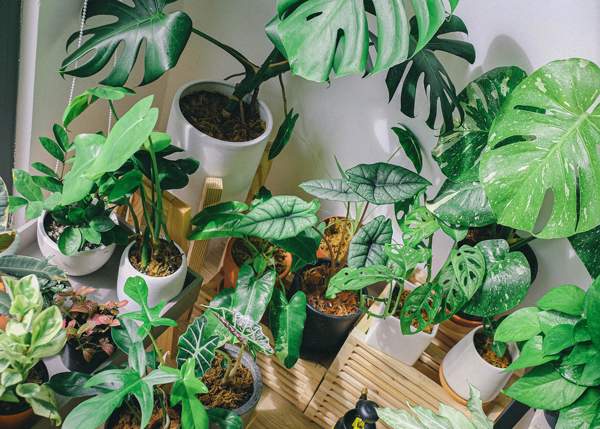
Indoor Jungle: A Basic Guide to Indoor Plant Care
If you want to add some old-world beauty and warmth to your home improvement and remodeling projects, these decorative millwork design ideas might help.
How to Design and Build a Pond for Your Garden
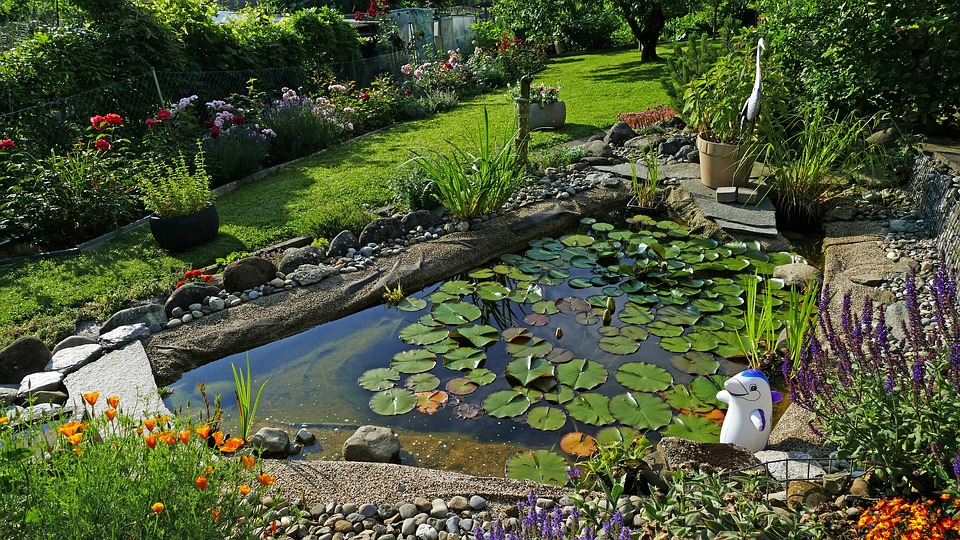
If you want to add some old-world beauty and warmth to your home improvement and remodeling projects, these decorative millwork design ideas might help.
6 Steps to Maintain Your Building for a Long Life
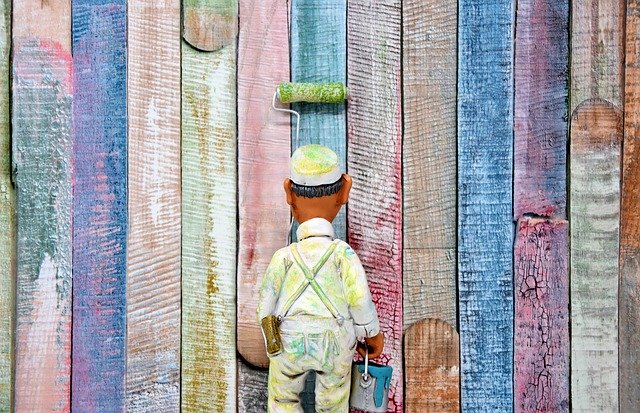
This is not something everyone knows, so here are a couple of tips that are going to help you maintain your building and keep it looking good much longer.
DIY Kayak Rack: Homemade Kayak Storage Rack

If you have a small garage the best option is to store your kayak upright, in a vertical position. Learn how to make a simple kayak stand with this tutorial.
Best Places to Add Custom Decorative Millwork
If you want to add some old-world beauty and warmth to your home improvement and remodeling projects, these decorative millwork design ideas might help.
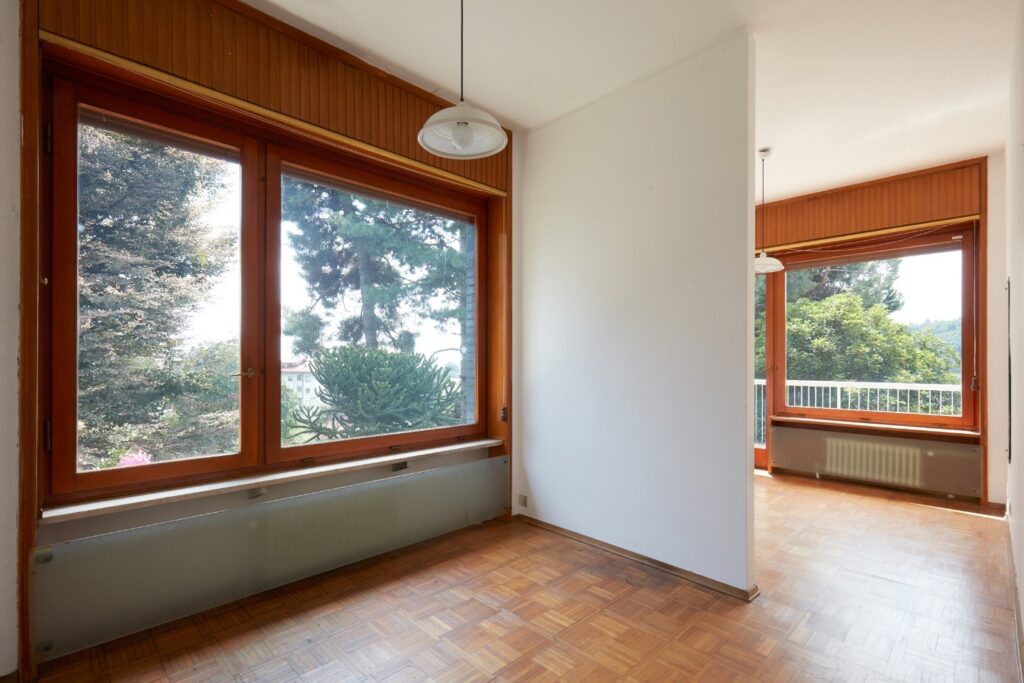
Tips for Adding an Apartment to Your Vermont House
If you are in a position to add an apartment to your house, why not go for it? The benefits are manifold. Some people do it so they can help out an elderly family member who otherwise can no longer live independently.
Enhancing Your Jamaica Cottage and Backyard
We know how special your Jamaica Cottage is; each one is different and speaks to the owner’s tastes and lifestyle. If you are hoping to make the most of the appearance of your backyard and cottage, then you’re in the right place. We have some backyard improvement ideas that will take your outdoor space from bland to brilliant!
How to Build DIY Outdoor Furniture With a Circular Saw
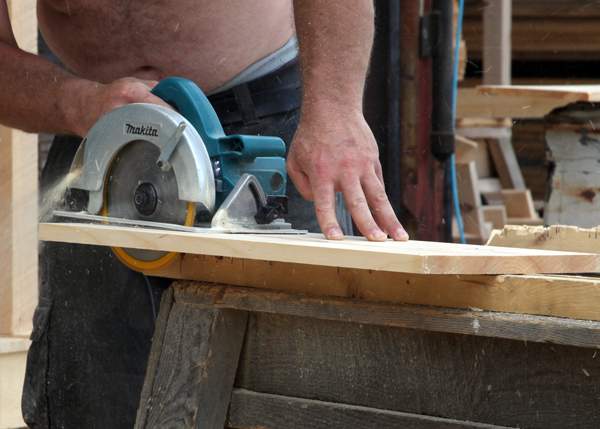
In this blog post we discuss some how-to’s for building simple outdoor furniture with a circular saw.
How to Properly Store Your Car: 8 Tips for Long-Term Storage
There are different reasons why each of us would want to prepare a car for long-term storage. You’re probably going away on an adventure for a few weeks. You’re transitioning from working at an office to a home office. Or you’re probably even thinking of moving to a tiny house that doesn’t have its own […]
How To Transform Your Garden into Horticultural Heaven
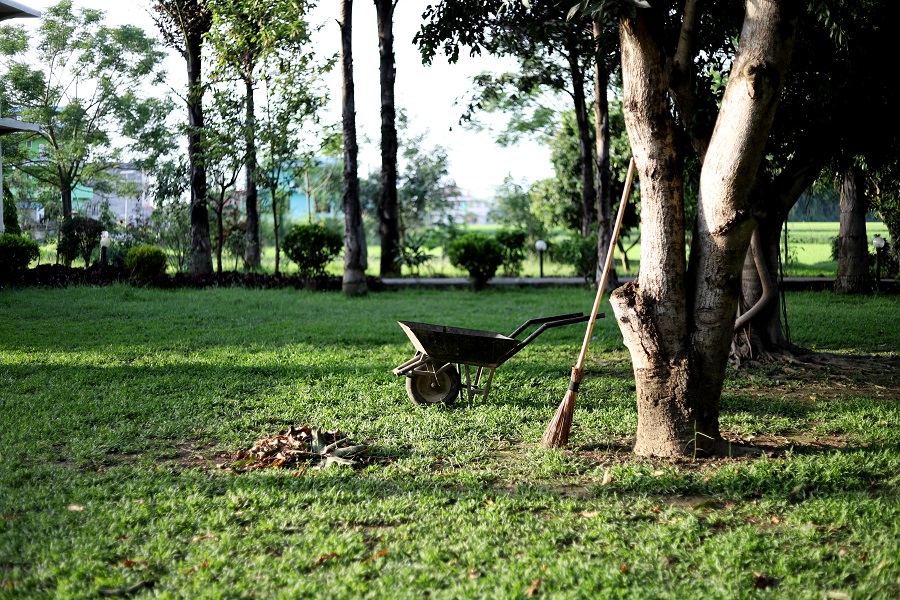
Even in winter, heading outside into the garden can be a wonderful way to relax, get some fresh air and even a little physical activity, too. However, beautiful backyards don’t just happen by themselves – even the simplest of gardens requires some level of upkeep, but that’s all part of the fun (mostly)! If you’re […]